
How To Pack And Carry Dress Clothes to Weddings Abroad
You’re not worried about wrinkles. You’re worried about showing up in photos and seeing something slightly… off. A flattened lapel. A shoulder that doesn’t sit right. That subtle “travel fatigue” look that no amount of confidence can hide.
This is about protecting structure, drape, and silhouette – especially when airline handling, 35,000-foot humidity swings, and overhead-bin chaos are involved.
Let’s break this down in the way you actually think about it when booking the flight.
First Decision: Carry It On – or Check It?
This is the fork in the road. Everything else flows from here.
If You Carry It On
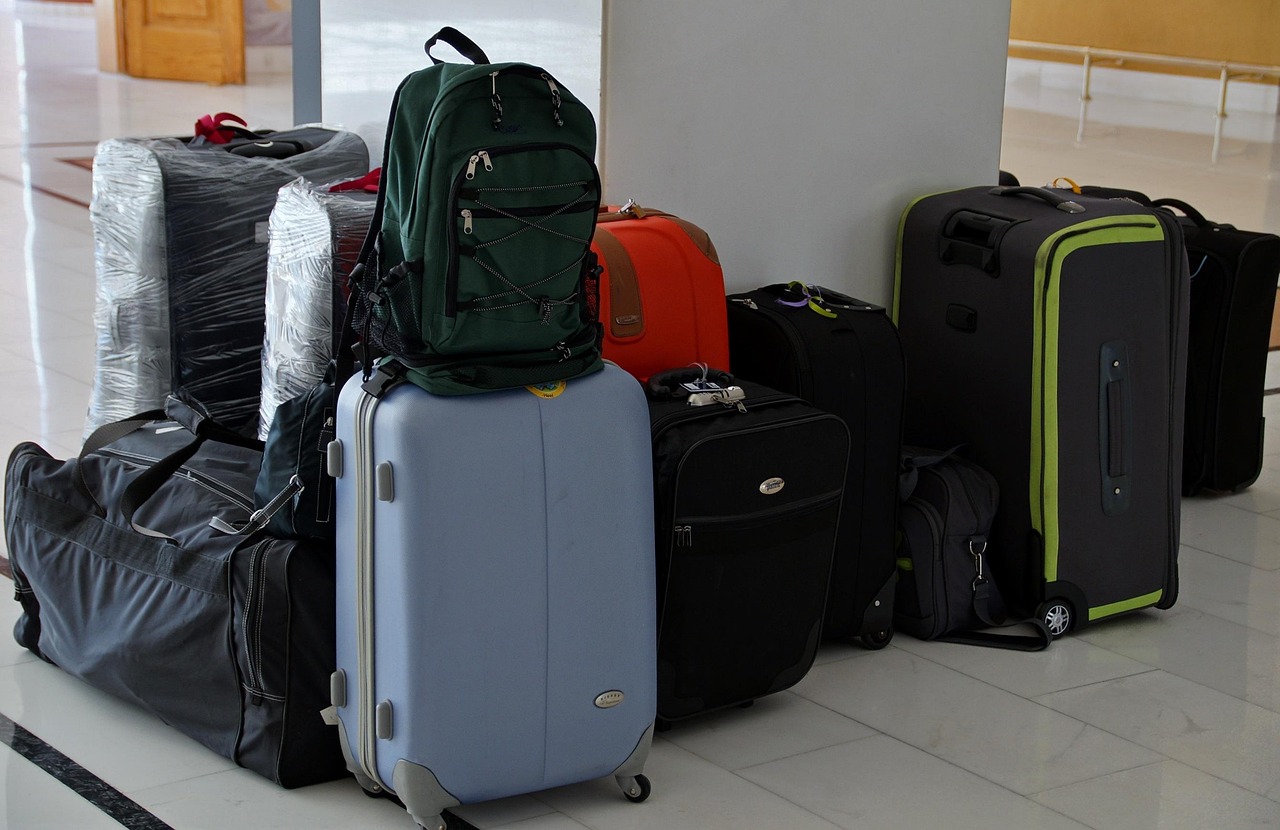
You keep control. No baggage claim anxiety. No 0.6-0.7% mishandled-luggage statistic haunting you.
But here’s the mechanical reality:
- Overhead bins on international narrow-body aircraft average 14-16 inches deep, 22-24 inches wide, and 8-10 inches high once filled (source).
- Most airlines cap carry-on at 22 x 14 x 9 inches (+/- 1 inch tolerance).
- If your garment bag exceeds 15 inches folded depth or swells beyond 9 inches thick, you risk forced gate-check.
- Hard-shell rollers weighing 20-25 lbs placed on top can easily exceed the safe 8-10 lbs downward pressure your jacket should tolerate.
- Compression lasting more than 24 hours continuously can permanently flatten lapel roll.
What actually protects you:
- Board within the first 10-15 passengers per aisle section to reduce stacking pressure by up to 50%.
- Place the bag flat against the back wall of the bin.
- Maintain at least 1 inch clearance from zipper line to bin lip.
- Avoid any concentrated weight pressing into the chest area.
If you can control overhead placement, carry-on is the safest route.
If You Check It
This works – but only if you pack like someone who understands physics.
Checked luggage isn’t mistreated out of cruelty. It’s stacked 3-6 bags high, dropped 12-36 inches onto belts, and stored in holds that fluctuate between 40°F and 120°F (4°C-49°C).
Compression straps are the main threat. Tighten them beyond 15-20 lbs pull force, and you can imprint wool fibers in 3-5 hours.
To make checked luggage viable:
- Hang the jacket vertically using the internal hanger bracket, leaving at least 1 inch clearance from hook to shell.
- Place a 0.5-1 inch thick folded towel or sweater under the chest area.
- Tighten straps only enough to prevent more than 1/2 inch movement when gently shaken.
- Ensure no single point load exceeds 2 lbs concentrated on 1 square inch.
- Keep total weight on the garment side under 50% of overall packed weight.
If you’re arriving in a city with tailors and 48 hours buffer, this risk can be managed. If you’re landing somewhere remote with less than 24 hours margin, you’re gambling.
Is Your Garment Bag Actually Protecting the Jacket?
A garment bag isn’t automatically protective.
Inside your jacket is:
- Canvas interlining about 1.5-2 mm thick
- Chest padding
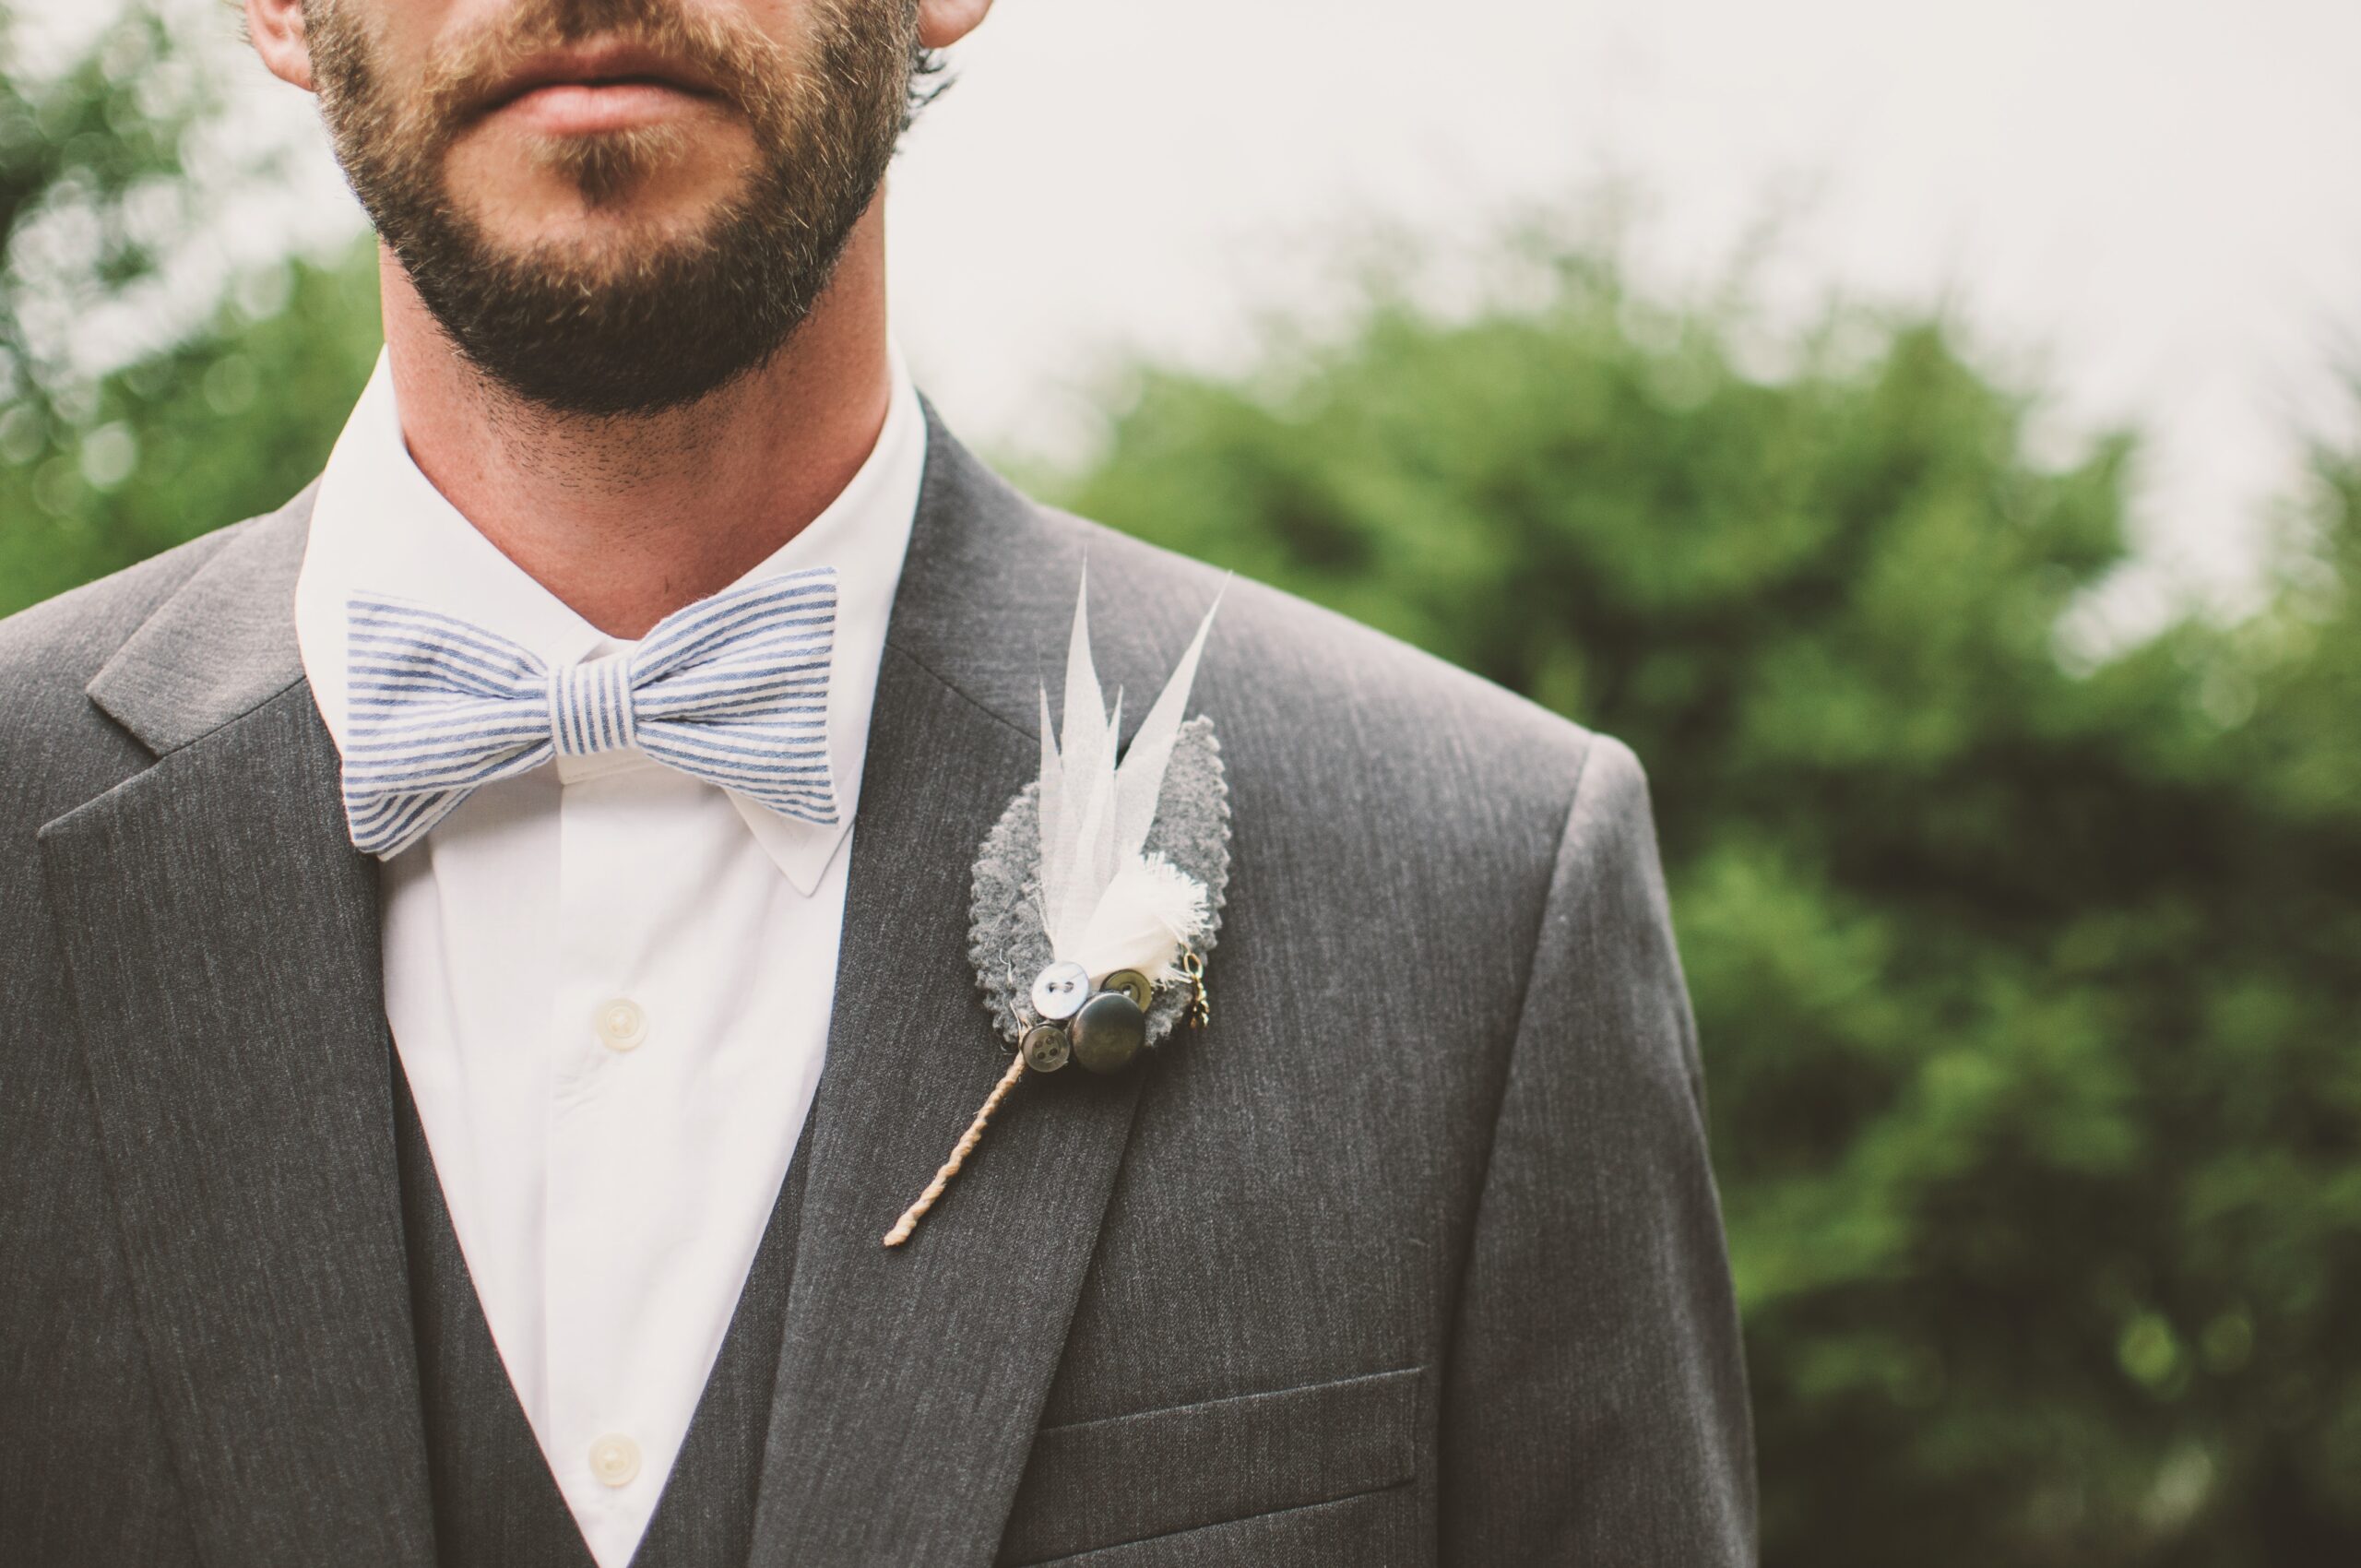
- Roll stitching designed to maintain a 45-60° lapel angle
Tri-fold garment bags create two fold points. Sustained pressure above 5-7 lbs weakens the lapel roll. Shoulder seams can dimple within 6-8 hours under compression. Sleeve heads ripple if bent beyond 30° deviation. After 48 continuous hours, the canvas memory begins to degrade.
What works better?
- One fold only (bi-fold)
- Garment duffel perimeter wrap design
- Suspension systems preserving 75-90% jacket length intact
When folding, align at the natural waist seam – typically 15-18 inches below the collar.
Before folding:
- Insert 2-3 sheets of acid-free tissue (20 x 30 inches each) between lapels.
- Fill sleeves to about 30-40% volume with tissue to maintain cylindrical shape.
When you unzip at the hotel and the lapels fall into a clean curve, that’s not luck. That’s controlled tension.
Shoes and Accessories: The Hidden Damage Zone

The suit rarely damages itself. Accessories do.
Dress shoes weigh 2-3 lbs per pair (1-1.5 lbs each). Under compression, buckles or heels can emboss fabric within 8-10 hours.
Here’s the correct load strategy:
- Shoes heel-to-toe, individually wrapped, soles facing outward.
- Maintain at least 1/2 inch fabric buffer between shoes and jacket.
- Belts laid flat along the perimeter; if coiled, no tighter than 6-inch diameter.
- Cufflinks and studs stored in a rigid case with at least 2-3 mm shell thickness.
- Shirts packed in a semi-rigid folder, collar stays inserted, collar alignment within 1° tolerance.
- Place a microfiber cloth (minimum 8 x 10 inches) between shirt buttons and jacket lining.
Never allow a heavy object to rest directly against lapels. That pressure doesn’t wrinkle – it dents.
Use a Garment Duffel Bag

If you want a high-control solution that still fits overhead, this is it.
Garment duffels wrap the suit around the perimeter frame, distributing pressure instead of concentrating it on fold lines. They typically preserve 75-90% of jacket length intact and maintain structural stability at 15-20 lbs total carry weight.
Standard carry-on compliant sizing: 22 x 12 x 12 inches.
Full-grain leather is best as it maintains its rigidity. This is one of the reasons we recommend Von Baer’s Garment Bag, because it’s handmade from full-grain vegetable-tanned Italian leather, and comes with a built-in garment compartment.
Optimal packing inside a garment duffel:
- Fill the central cavity to 70-80% volume first.
- Lay suit along outer garment panel.
- Close zipper slowly over 10-15 seconds to avoid bunching.
- Hang within 30 minutes of arrival.
Leather resists compression better, ages well, and – yes – looks intentional when you walk into the hotel lobby.
Managing Humidity and Long-Haul Fiber Stress
Cabin humidity averages 10-20% (source). Coastal destinations often sit at 70-90%. Even a 5-10% humidity shift affects wool expansion.
Avoid plastic covers. They can trap condensation above 80% internal humidity.
Use breathable cotton covers. Lightly insert tissue. Don’t overstuff.
Arrival reset protocol:
- Unpack within 30 minutes.
- Use a broad wooden hanger with 1.5-2 inches shoulder support.
- Run shower 10-15 minutes to reach approximately 60-70% bathroom humidity.
- Let suit hang undisturbed for 45-60 minutes.
If using a steamer:
- Hold 1-2 inches from fabric.
- Steam each area 5-8 seconds.
- Allow 20-30 minutes drying time.
Humidity resets fiber memory – but over-saturation flattens lapels. Keep it controlled.
How Much Margin Do You Actually Have?
Timeline changes everything.
- 72 hours before ceremony: You can press locally, adjust tailoring, recover from minor issues.
- 24 hours before ceremony: You need carry-on control and a backup shirt.
- Same-day arrival: No recovery buffer. Maximum precision required.
Risk equation:
- Custom tux + remote venue + <24 hours arrival window = highest control method.
- Rental suit + major city + >48 hours arrival window = flexibility acceptable.
The less replaceable the garment, the less risk you outsource.
Packing Order (Yes, It Matters)
Sequence determines pressure distribution.
- Button jacket.
- Insert acid-free tissue into shoulders (fill to 30% cavity volume).
- Place 2-3 sheets between lapels.
- Fold once at natural waist seam (15-18 inches below collar).
- Lay trousers along garment panel, crease deviation under 2 mm.
- Add shirt in rigid sleeve.
- Insert shoes heel-to-toe.
- Lay belt flat.
- Store accessories in hard case.
- Close zipper slowly over 10-20 seconds, checking for resistance.
Never place toiletries above garments. A 1 lb toiletry kit can create concentrated downward pressure during flight.
When done properly, you unzip abroad and the suit looks like it never traveled. Lapel roll intact. Shoulder line clean. Trousers crisp.
And that’s the point.
Not just “good enough.”
Controlled. Intentional. Calm.